This article will explain how to update the Test Application. It clarifies when/if you need to perform manual updates and/or if you have a version that has built-in triggers for automatic updates.
- Automatic Updates
- All versions with number 5.31 or higher.
For a newer version with automatic updates, you will be notified with a pop-up message when logging into Test Application that there is a new version available for installation. Follow the instructions you see on the screen in order to proceed with the update.
- Manual Updates
- All versions with number 5.30 or lower.
You can always do a manual update to ensure you are running on the latest version of the app.
To guarantee that you have the latest features and security updates, you are required to update the installed Testing Application in Windows. Scroll down for instructions on how to do a manual update.
If you have a version of the application that is older than a version starting at 5.30 (5.29, 5.28, 5.27.....5.15..) you need to first uninstall the application in order to update/Re-install it again: Uninstall the Lexplore Application
It is likely you have installed a local version that you can update yourself, however, sometimes the installation is done remotely by your school IT department or an external company. If this is the case, please refer to the section on how to install it from MSI below. If unsure, please contact your local IT administrator.
How to update (re-install) the Testing Application on your local computer:
- To install the Testing Application - Open your web browser.
Log in to portal.lexplore.com and then go to:
https://portal.lexplore.com/install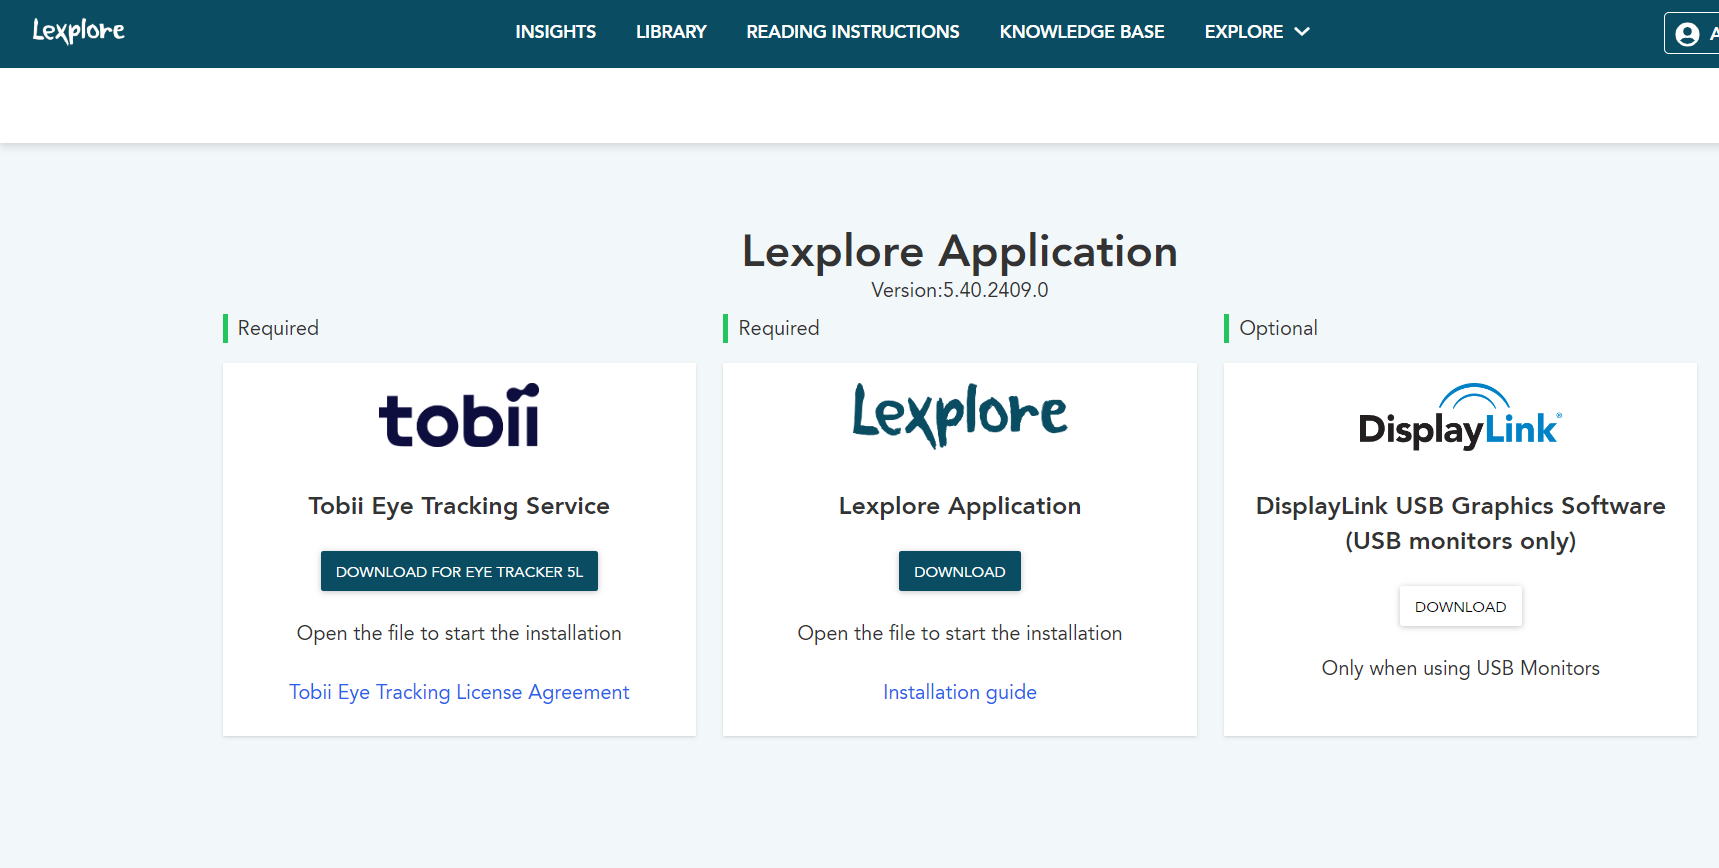
- Click the Download button below the Lexplore logo.
- Open the downloaded file. It may look different in different web browsers.
- Follow the on-screen instructions to install the application.
- Make sure to re-start your pc after the update/install.
Install the client by MSI package
The MSI version can be installed on one computer as an administrator or deployed to the organisation’s computers or software center.
Install on ONE computer
- Go to https://portal.lexplore.com/admininstall
- Download the Lexplore Application
- Open the downloaded file “LexploreScreeningClient” to start the installation
- Select region - Europe or the United States
- Countries in the UAE and Africa should select Europe
- Optional (only if the organisation is set up with Office 365 SSO) enter provided customer ID.
- Finish
Deploy the application within the network
- Go to https://portal.lexplore.com/admininstall
- Download the Lexplore Application
- Use the correct region property in the command
- Europe: REGION=neu-prod
- United States*: REGION=scus-prod
- Use msiexec command to deploy: msiexec/iLexploreScreeningClient.msi REGION=neu-prod /norestart/quiet
🛎️Here at Lexplore, we love to help our users with their questions and provide self-help guides for quicker service. Please vote below in the Question whether or not this article was helpful. 😊