Changing audio and microphone settings.
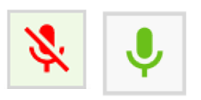
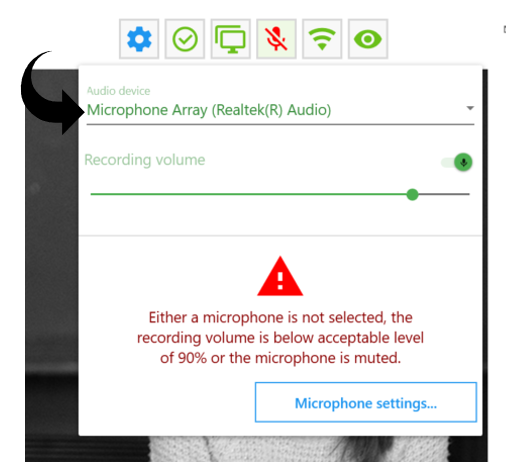
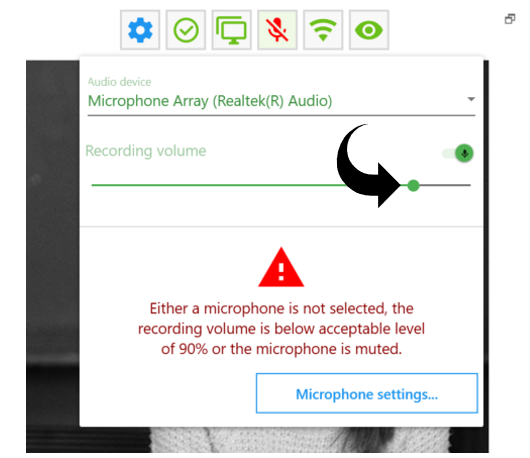
In the top right corner of the Test Application you will find the Audio Settings icon. If the icon is green and/or with no strikethrough it indicates that everything is running correctly. If the icon is red and/or with strikethrough, this indicates that something needs configuring. For example, if the microphone is muted, or if the volume is set to less than 90%, the icon will be red/with strikethrough
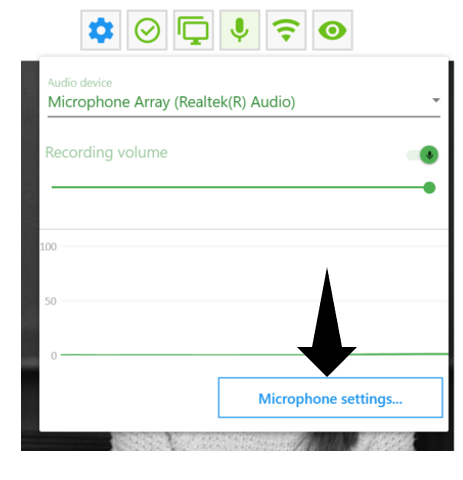
Click on the icon to check to the settings. First, check which audio device the laptop/PC is using to detect sound and alter it accordingly using the drop-down menu. If you are using an external microphone, please ensure you use the drop-down menu to select the microphone you are using.
Once the correct audio device has been selected. Increase the recording volume by clicking on the green circle and dragging to the right.
Recordings can still be made if the microphone is turned off. This is not common practice, but might be needed in exceptional cases, for example, when you are testing pupils with a protected identity.
If the sound is very low even though you have the recording volume set to 100%, it could be due to the settings on your laptop. The microphone settings are handled differently by each laptop manufacturer. Some have a keyboard key to turn the microphone on and off, while others require you to go through the Windows settings. The Audio settings icon can be used to quickly reach these settings.