Roles: Ambassador, Project manager, Organisation Administrator or Examiner.
First time importing? Using this function requires that the students already exist in Lexplore in the previous academic year. If you are importing your students for the first time, please visit How do I import pupils via an excel spreadsheet
SIS sync: If your organisation has an active SIS sync integration, like Wonde, the classes will be rolled up automatically when the data is updated in your source system.
How to roll up all classes in a school to the new academic year.
Note: this can only be done after the new academic year has started (August 1st in the Northern Hemisphere, and January 1st in the Southern).
- Login to Lexplore portal portal.lexplore.com
- Navigate to the school where you want to roll up classes and press the cog wheel in the top right corner. If you want to roll up classes in several schools you need to handle them one at a time.
- Press the Classes tab

- Press the button CLASS ROLL UP

- You will now see the class roll up page with all classes from the previous academic year on the left, and their suggested new names for the new academic year on the right.
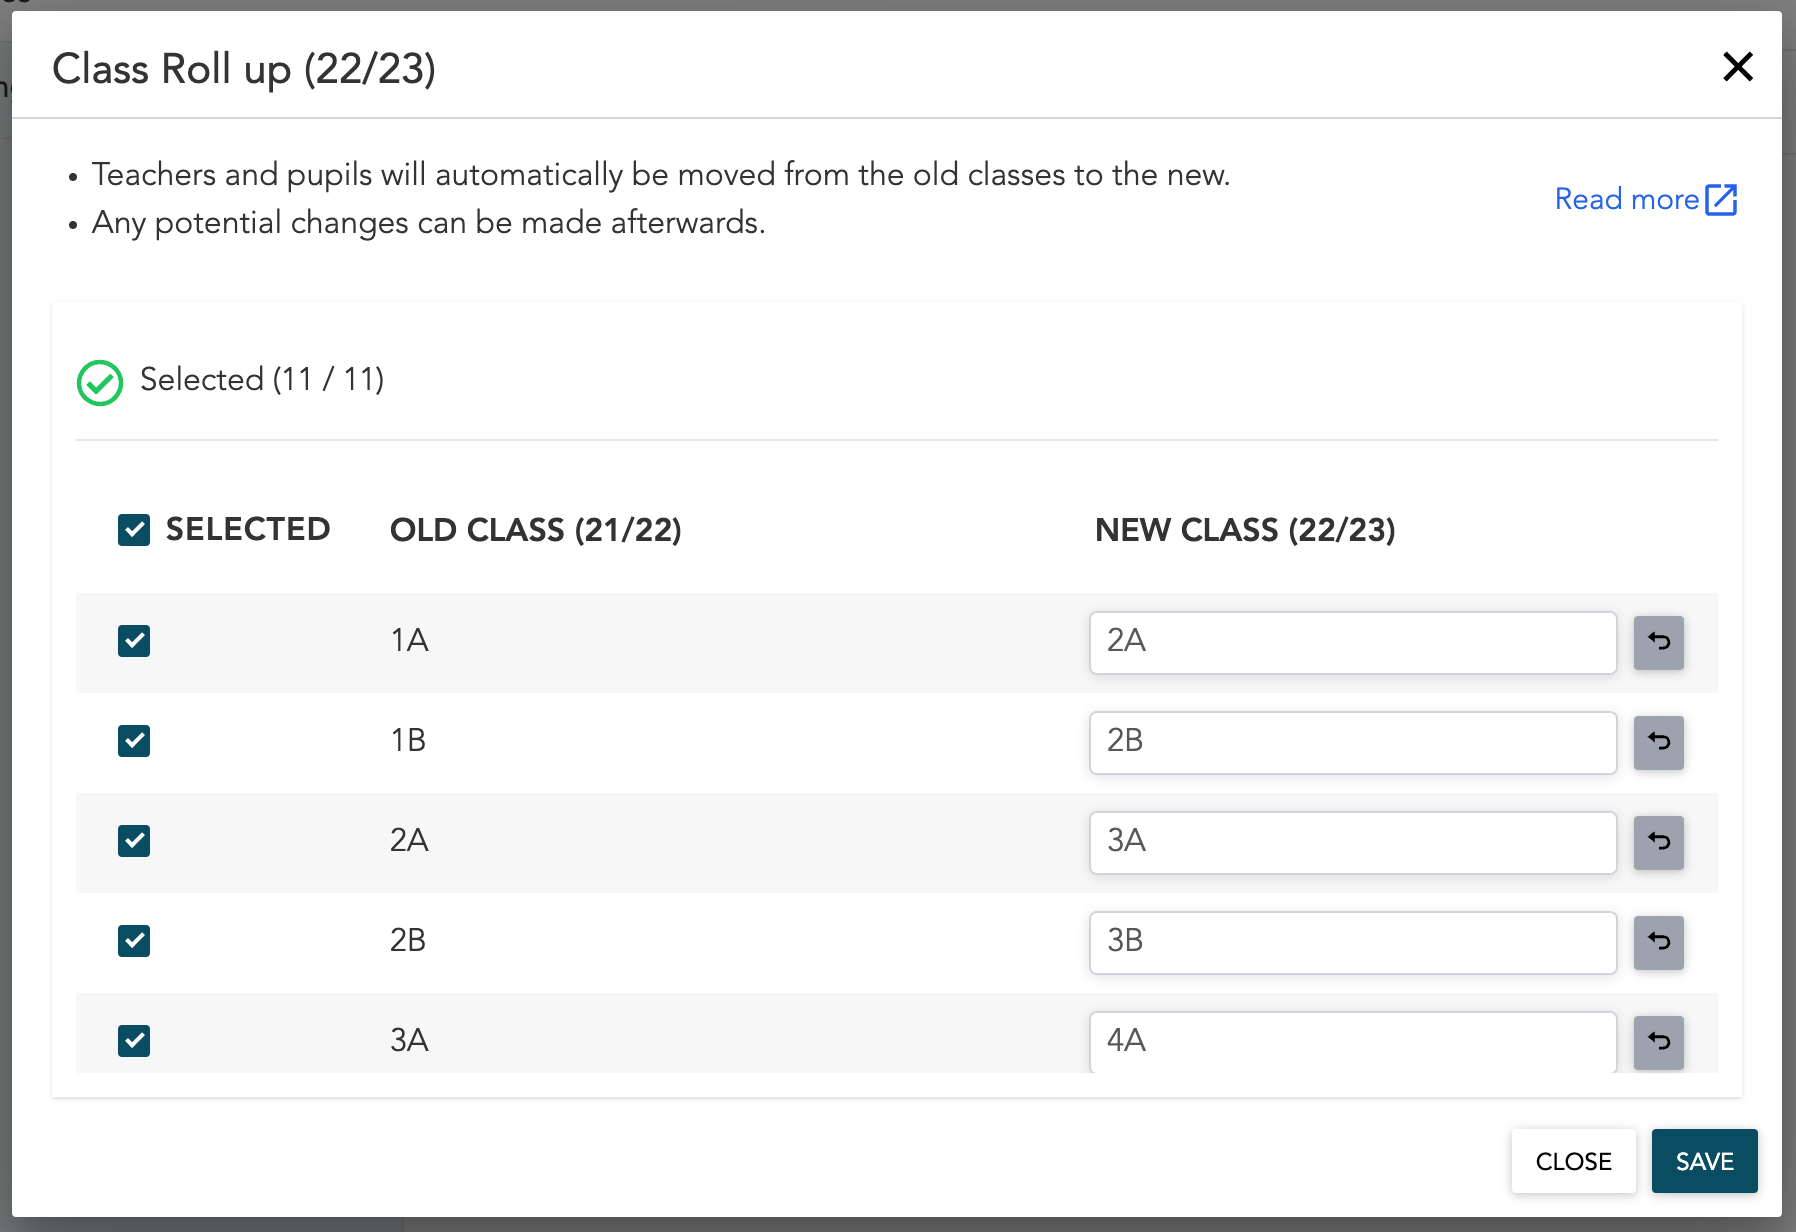
- Things to take into consideration:
- All students and teachers from the old class will automatically be moved to the new classes.
- If students or teachers have moved since the last school year, this move can be handled after the roll up is done.
- You can change any of the suggested names by simply editing the name in the text box before saving.
- If you want to merge two classes, give them the same name. They will be merged into one class after the roll up.

- If a whole class no longer goes to the school, you can uncheck the checkbox next to that class. Then it will not be rolled up.

- Press SAVE to and then SAVE again in the confirmation dialogue to perform the class roll up.

- Now it's time to do any changes that might be needed.
- Move all students that needs to be moved. You can read about how to do that here.
- Change which classes the teachers have access to if they didn't continue with their previous class. You edit their access by clicking their names in the staff list in the organisation admin view.
- Import all new students to the school. When importing many students we recommend doing this with excel import. You can read about how to do that here.
- If you only want to roll up one or a few students from a class, but most pupils in the class have left the school (for example if the pupil must redo a year) - you can do excel import of this students to its new class in the new year.
Done. Great job!
🛎️Here at Lexplore, we love to help our users with their questions and provide self-help guides for quicker service. Please vote below in the Question whether or not this article was helpful. 😊